What the bracket supports
I start with the Flex-Z Fast Bracket because it establishes support at the ceiling framing before the remaining assemblies go in. In the WhisperFit system discussed here, the duct/electrical assembly and motor housing relate to that support rather than arriving as one inseparable object you must hold overhead.
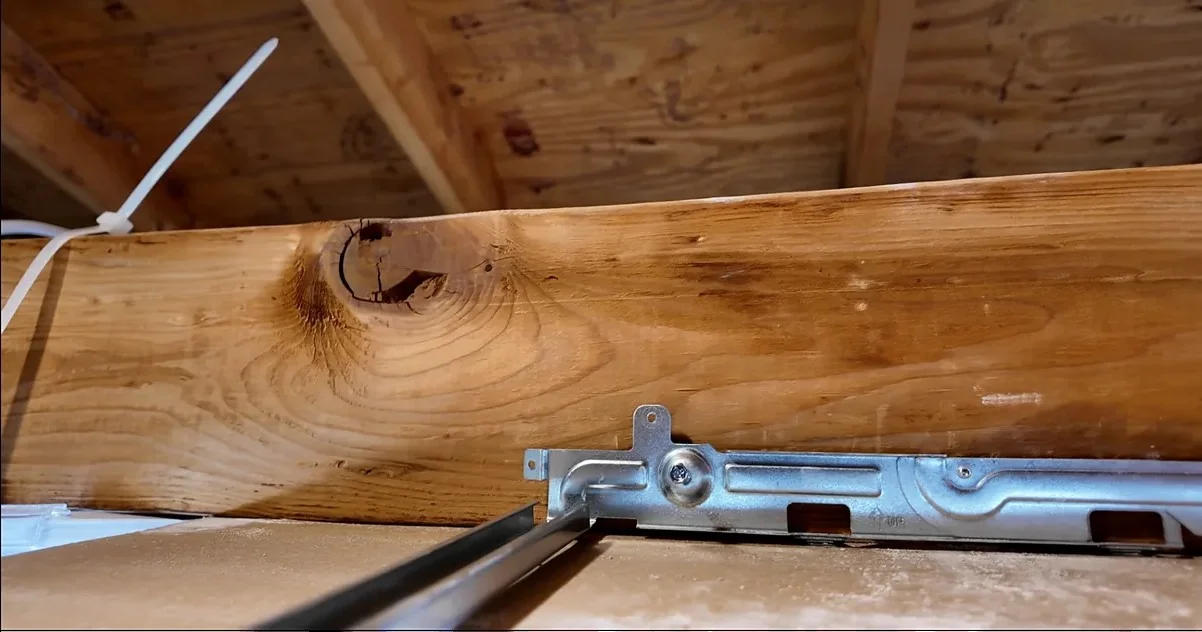
“Room-side installation” is useful shorthand for what the system can allow in a suitable replacement. It does not tell you whether the existing house has the space, accessible connections, or usable framing the job requires.
From the unboxing
See the bracket in the unboxing
This is the same complete unboxing, starting at 0:51 for this topic. Playback continues into the following chapters.
Why the installation is divided into assemblies
Imagine holding the full fan above your head while also trying to connect the duct and work out the electrical compartment. In the unboxing I separate those jobs so you can see what each piece handles.
- Bracket: establishes the support at the framing.
- Duct/electrical assembly: handles those connections as a separate section.
- Motor housing: joins that assembly.
- Grille: attaches at the bathroom side through its spring connections.
This sequence explains the relationships. It does not specify fastener locations, wiring connections, or a universal method for every WhisperFit variant. Keep the instructions for your exact model beside you.
Examine the pieces before climbing the ladder
Down on the workbench, you can rotate the pieces and see both sides of a connection. Through a ceiling opening, you may have a hand or the housing blocking that same view. I want that first look to happen while you can actually see what you are doing.
Compare the bracket to its drawing, look at the tabs, and find where the duct/electrical section meets the housing. Lay out the hardware alongside the instructions instead of assuming a screw belongs somewhere because it looks close.
Bracket position and tabs deserve attention
In my existing WhisperFit review, I describe not initially realizing that the bracket tabs needed attention before installation. That is a specific lesson from the documented installation, separate from this unboxing.
If the housing does not seem to seat correctly, forcing it is not my next step. I re-check the preparation and alignment against the model instructions. The installation bracket section includes the preparation Short and the housing-alignment demonstration.
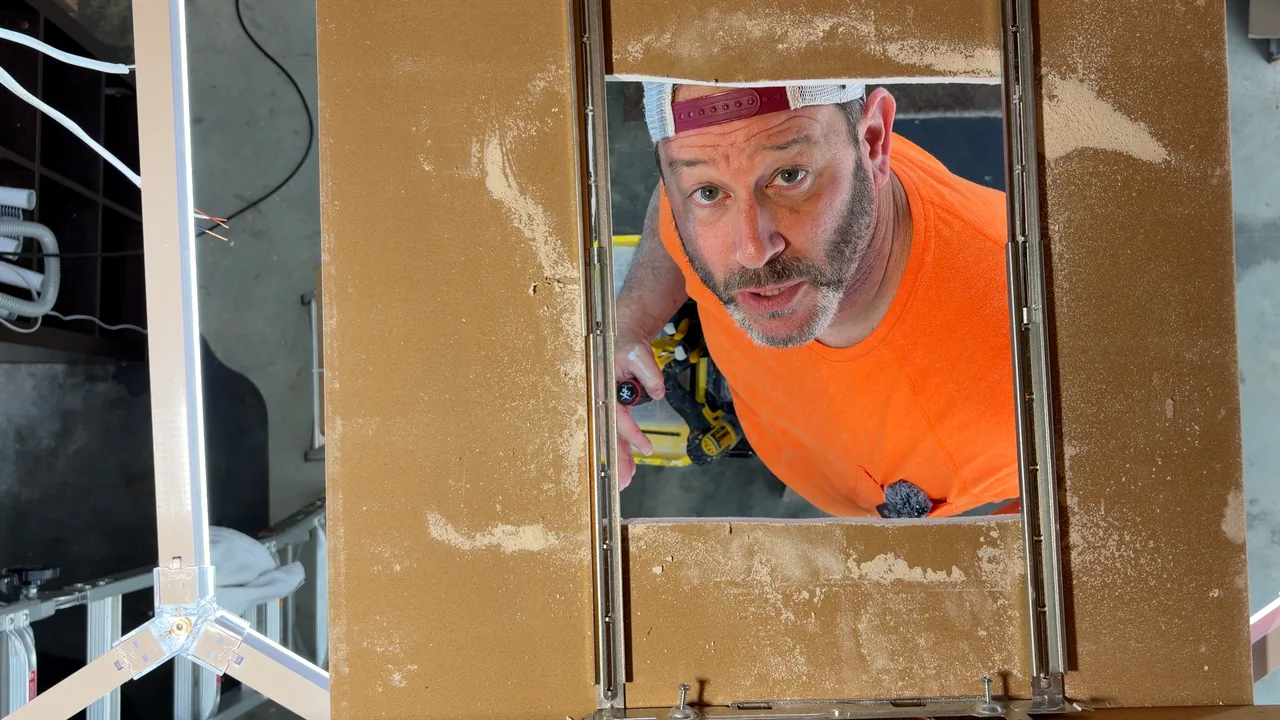
The house still decides how accessible the job is
The bracket cannot move a joist or lengthen an existing cable. Before cutting, I check the opening, cavity, framing direction, duct direction, obstructions, and available wire slack. A grille that covers the old opening does not establish that the housing can go wherever you want.
Room-side work may be practical when those conditions cooperate. Duct repair, inaccessible wiring, or a problem at the exterior termination can change the plan. Use the DIY-fit check to evaluate your bathroom before committing.
Your next step
Watch the Bracket Installed
Return to the complete unboxing and pre-purchase checks if you want to see how the bracket fits into the rest of the project.